
@RequestBody와@ModelAttribute는 클라이언트 측에서 보낸 데이터를 Java 코드에서 사용할 수 있는 오브젝트로 만들어주는 공통점이 있습니다.- 하지만 이 두 애너테이션은 세부 수행 동작에서 큰 차이를 보여주기 때문에 잘못 사용하면 예기치 못한 에러와 마주칠 수 있습니다.
- 이번 포스팅에서는 두 애너테이션의 특징 및 차이점에 대해 알아보겠습니다.
💡 @RequestBody
Annotation indicating a method parameter should be bound to the body of the web request. The body of the request is passed through an HttpMessageConverter to resolve the method argument depending on the content type of the request.
POST HTTP1.1 /requestbody
Body:
{ “password”: “1234”, “email”: “kevin@naver.com” }
@RequestBody애너테이션의 역할은 클라이언트가 보내는 HTTP 요청 본문(JSON 및 XML 등)을 Java 오브젝트로 "변환"하는 것입니다.- HTTP 요청 본문 데이터는 Spring에서 제공하는
HttpMessageConverter를 통해 타입에 맞는 객체로 변환됩니다.
@PostMapping("/requestbody")
public ResponseEntity<RequestBodyDto> testRequestBody(@RequestBody RequestBodyDto requestBodyDto) {
    return ResponseEntity.ok(requestBodyDto);
}
public class RequestBodyDto {
private String name;
private long age;
private String password;
private String email;
public RequestBodyDto() {}
public RequestBodyDto(String name, long age, String password, String email) {
this.name = name;
this.age = age;
this.password = password;
this.email = email;
}
// Getter만 정의
}@Test
void requestBody() throws Exception {
ObjectMapper objectMapper = new ObjectMapper();
RequestBodyDto requestBodyDto = new RequestBodyDto("req", 1L, "pass", "email");
String requestBody = objectMapper.writeValueAsString(requestBodyDto);
mockMvc.perform(post("/requestbody")
.contentType(MediaType.APPLICATION_JSON_VALUE)
.content(requestBody))
.andExpect(status().isOk())
.andExpect(jsonPath("name").value("req"))
.andExpect(jsonPath("age").value("1"))
.andExpect(jsonPath("password").value("pass"))
.andExpect(jsonPath("email").value("email"));
}RequestBodyDto객체를 JSON 문자열로 변환한 뒤, 이를 POST 요청 본문에 담아 보내고 다시 응답 본문으로 받는 테스트입니다. 해당 테스트를 실행하면 요청 본문의 JSON 값이 DTO로 잘 변환되어 성공합니다.- 그런데 여기서 의문점이 한 가지 생기게 됩니다.
- 분명
RequestBodyDto객체에는 Setter가 없는데 어떻게 해당 객체의 필드에 접근하여 데이터를 저장할 수 있는걸까? - 그 전말에는
MappingJackson2HttpMessageConverter가 존재합니다.
📌 MappingJackson2HttpMessageConverter

MappingJackson2HttpMessageConverter의 메서드를 타고 들어가다 보면 내부적으로ObjectMapper를 통해 JSON 값을 Java 객체로 역직렬화하는 것을 알 수 있습니다.
Java 객체를 JSON 문자열로 변환하는 것은 직렬화
- 역직렬화란 생성자를 거치지 않고 리플렉션을 통해 객체를 구성하는 메커니즘이라고 이해하면 되겠습니다.
리플렉션
JVM은 클래스 정보를 클래스 로더를 통해 읽어와서 해당 정보를 JVM 메모리에 저장한다. 그렇게 저장된 클래스에 대한 정보가 마치 거울에 투영된 모습과 닮아있어, 리플렉션이라는 이름을 가지게 되었다.
- 직렬화 가능한 클래스들은 기본 생성자가 항상 필수입니다. 따라서
@RequestBody에 사용하려는RequestBodyDto가 기본 생성자를 정의하지 않으면 데이터 바인딩에 실패합니다. - 그렇다면
ObjectMapper는 어떻게 JSON에 명시된 필드명 Key를 Java 객체의 필드명과 매핑시켜 값을 대입할까요?
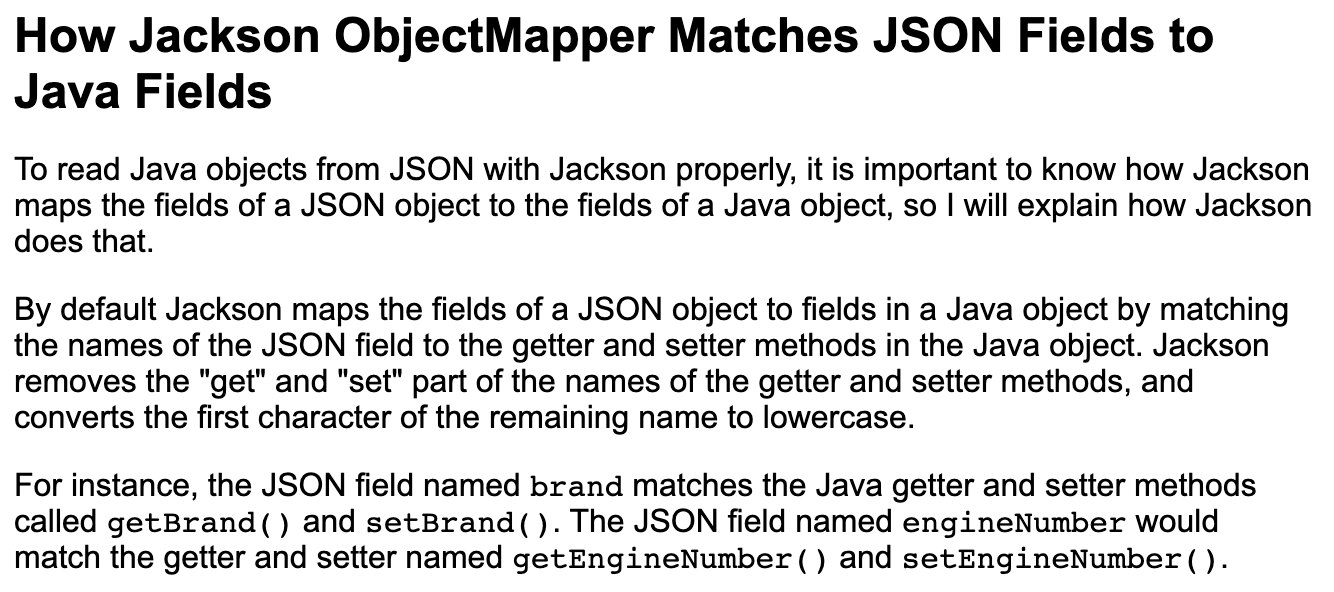
- 공식 문서에 따르면, Jackson ObjectMapper는 JSON 오브젝트의 필드를 Java 오브젝트의 필드에 매핑할 때
getter혹은setter메서드를 사용한다고 합니다. getter나setter메서드 명의 접두사(get, set)를 지우고, 나머지 문자의 첫 문자를 소문자로 변환한 문자열을 참조하여 필드명을 알아냅니다.- 실제로, 테스트를 위해 사용한
RequestBodyDto에getter및setter메서드가 모두 정의되어있지 않으면, 테스트 실행시HttpMessageNotWritableException예외가 발생하게 됩니다.
📌 정리
- 이를 통해 우리가 알 수 있는 것은 다음과 같습니다.
@RequestBody를 사용하면 요청 본문의 JSON, XML, Text 등의 데이터가 적합한HttpMessageConverter를 통해 파싱되어 Java 객체로 변환된다.@RequestBody를 사용할 객체는 필드를 바인딩할 생성자나setter메서드가 필요없다.- 다만 직렬화를 위해 기본 생성자는 필수다.
- 또한 데이터 바인딩을 위한 필드명을 알아내기 위해
getter나setter중 1가지는 정의되어 있어야 한다.
💡 @ModelAttribute
Annotation that binds a method parameter or method return value to a named model attribute, exposed to a web view. Supported for controller classes with @RequestMapping methods.
POST HTTP1.1 /modelattribute
Request params: id=13 name=kevin
@ModelAttribute애너테이션의 역할은 클라이언트가 보내는 HTTP 요청 파라미터들을 특정 Java Object에 바인딩(맵핑) 하는 것입니다./modelattribute?name=req&age=1같은 Query String 형태 혹은 요청 본문에 삽입되는 Form 형태의 데이터를 처리합니다.
@GetMapping("/modelattribute")
public ResponseEntity<ModelAttributeDto> testModelAttribute(@ModelAttribute ModelAttributeDto modelAttributeDto) {
    return ResponseEntity.ok(modelAttributeDto);
}
public class ModelAttributeDto {
private String name;
private long age;
private String password;
private String email;
public ModelAttributeDto(String name, long age, String password, String email) {
this.name = name;
this.age = age;
this.password = password;
this.email = email;
}
// Getter만 정의
}@RequestBody예제와 비슷하게 컨트롤러 및 DTO를 작성했습니다.ModelAttributeDto는RequestBodyDto와 동일한 필드와 생성자 및 Getter 메서드를 가지고 있습니다. 차이점이라고 한다면 컨트롤러에서@ModelAttribute애너테이션을 사용한다는 점입니다.
@Test
void modelAttribute() throws Exception {
    mockMvc.perform(get("/modelattribute")
            .param("name", "req")
            .param("age", "1")
            .param("password", "pass")
            .param("email", "naver"))
            .andExpect(status().isOk())
            .andExpect(jsonPath("name").value("req"))
            .andExpect(jsonPath("age").value("1"))
            .andExpect(jsonPath("password").value("pass"))
            .andExpect(jsonPath("email").value("email"));
}- 먼저, HTTP 파라미터와 함께 GET 요청을 테스트 해봅시다
- HTTP 파라미터들은 URL 뒤에 붙어
/modelAttribute?name=req&age=1&password=pass&email=naver형태의 Query String이 됩니다. - 테스트 실행 결과는
ModelAttributeDto{name='req', age=1, password='pass', email='naver'}로 데이터가 잘 바인딩됨을 확인할 수 있습니다.
@PostMapping("/modelattribute")
public ResponseEntity<ModelAttributeDto> testModelAttribute(@ModelAttribute ModelAttributeDto modelAttributeDto) {
    return ResponseEntity.ok(modelAttributeDto);
}
@Test
void modelAttribute() throws Exception {
ObjectMapper objectMapper = new ObjectMapper();
ModelAttributeDto modelAttributeDto = new ModelAttributeDto("req", 1L, "pass", "email");
String requestBody = objectMapper.writeValueAsString(modelAttributeDto);
mockMvc.perform(post("/modelattribute")
.contentType(MediaType.APPLICATION_JSON_VALUE)
.content(requestBody))
.andExpect(status().isOk())
.andExpect(jsonPath("name").value("req"))
.andExpect(jsonPath("age").value("1"))
.andExpect(jsonPath("password").value("pass"))
.andExpect(jsonPath("email").value("email"));
}- 이번에는 POST 요청을 테스트 해봅시다. 이 테스트를 실행하면 당연히 실패합니다.
@ModelAttribute는 Form 형식의 HTTP 요청 본문 데이터만을 인식해 매핑하지만, 현재는 JSON 형태의 데이터를 전송하고 있기 때문입니다. 따라서 데이터가 바인딩되지 않거나415 Unsupported Media Type에러가 발생합니다.
mockMvc.perform(post("/modelattribute")
        .contentType(MediaType.APPLICATION_FORM_URLENCODED)
        .content("name=req&age=1&password=pass&email=naver"))
        .andExpect(status().isOk())
        .andExpect(jsonPath("name").value("req"))
        .andExpect(jsonPath("pass").value("pass"))
//...- 위와 같이
contentType을x-www-form-url-encoded로, 요청 본문 내용을 Form 형식으로 보내도록 테스트를 수정해봅시다. - 테스트 실행 결과는
ModelAttributeDto{name='req', age=1, password='pass', email='naver'}로 데이터가 잘 바인딩됨을 확인할 수 있습니다.
public class ModelAttributeDto {

    private String name;
    private long age;
    private String password;
    private String email;

    //Getter만 정의
}- 이번에는
ModelAttributeDto의 생성자를 삭제하고 테스트를 실행해봅시다. - 테스트를 실행하면 콘솔 로그에 결과로
ModelAttributeDto{name='null', age=0, password='null', email='null'}가 출력됩니다. - 즉, POST 요청으로 HTTP 파라미터는 정상적으로 보냈지만, Controller에서 데이터를
ModelAttributeDto에 바인딩하지 못하고 있습니다. - 그럼
ModelAttributeDto에setter메서드를 추가하고 테스트를 실행하면 어떻게 될까요? 테스트는 생성자가 있을 때 처럼 성공하게 됩니다.
📌 정리
- 이를 통해 우리가 알 수 있는 것은 다음과 같습니다.
@ModelAttribute를 사용하면 HTTP 파라미터 데이터를 Java 객체에 바인딩(맵핑)한다.- 따라서 객체의 필드에 접근해 데이터를 바인딩할 수 있는 생성자 혹은
setter메서드가 필요하다.
- 따라서 객체의 필드에 접근해 데이터를 바인딩할 수 있는 생성자 혹은
- Query String 및 Form 형식이 아닌 데이터는 처리할 수 없다.
📌 Reference
'🥑 Web Technoloy' 카테고리의 다른 글
| @OneToMany 단방향 (0) | 2023.07.18 |
|---|---|
| Vue.js & Spring Boot 연동 및 개발환경 구축 (1) | 2023.06.30 |
| 더티 체킹(Dirty Checking)이란? (0) | 2023.06.13 |
| AJAX란? (0) | 2023.06.13 |
| RESTful API란? (0) | 2023.06.13 |